JijZept IDE Initial Setup
This guide explains the basic usage of JijZept IDE in a step-by-step manner.
JijZept IDE Usage Guide
1. Access JijZept IDE
Access JijZept IDE and sign in using your user information issued via "Sign in with OpenID Connect".
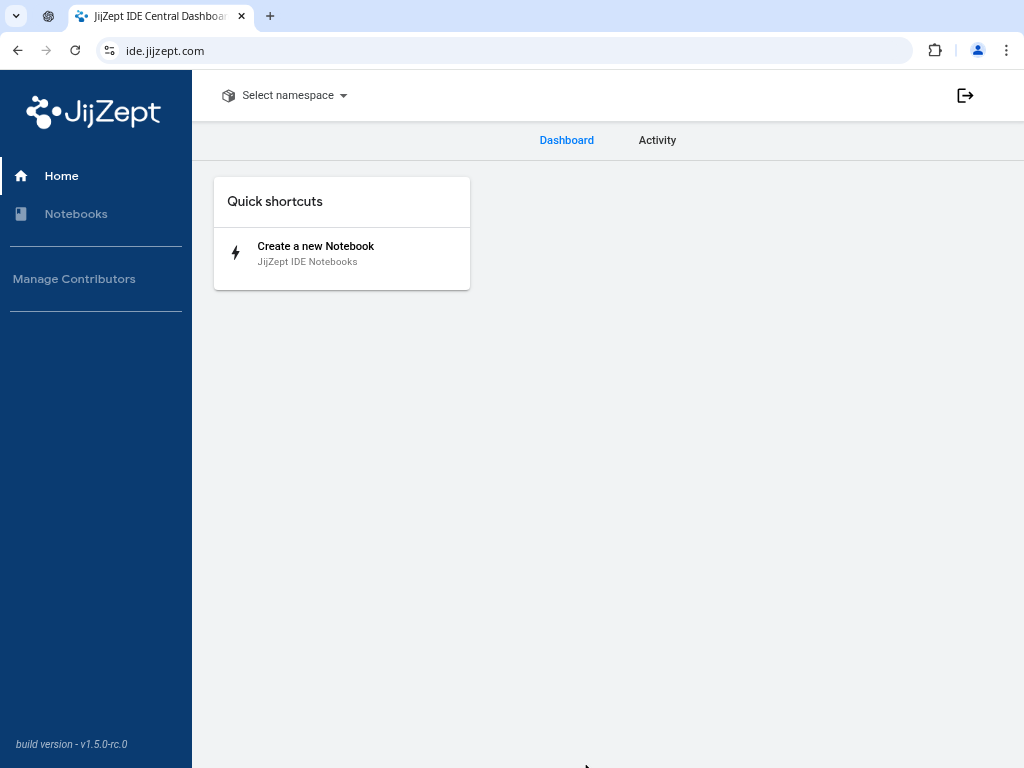
After signing in, you will see a screen like the following:
2. Select Namespace
Click on "Select Namespaces" at the top and select your Namespace. If you only see "All Namespaces" and cannot select a Namespace, please feel free to contact us for assistance.
3. Create a New Notebook
On the dashboard, select "Create a new Notebook" in the "Quick shortcuts" section.
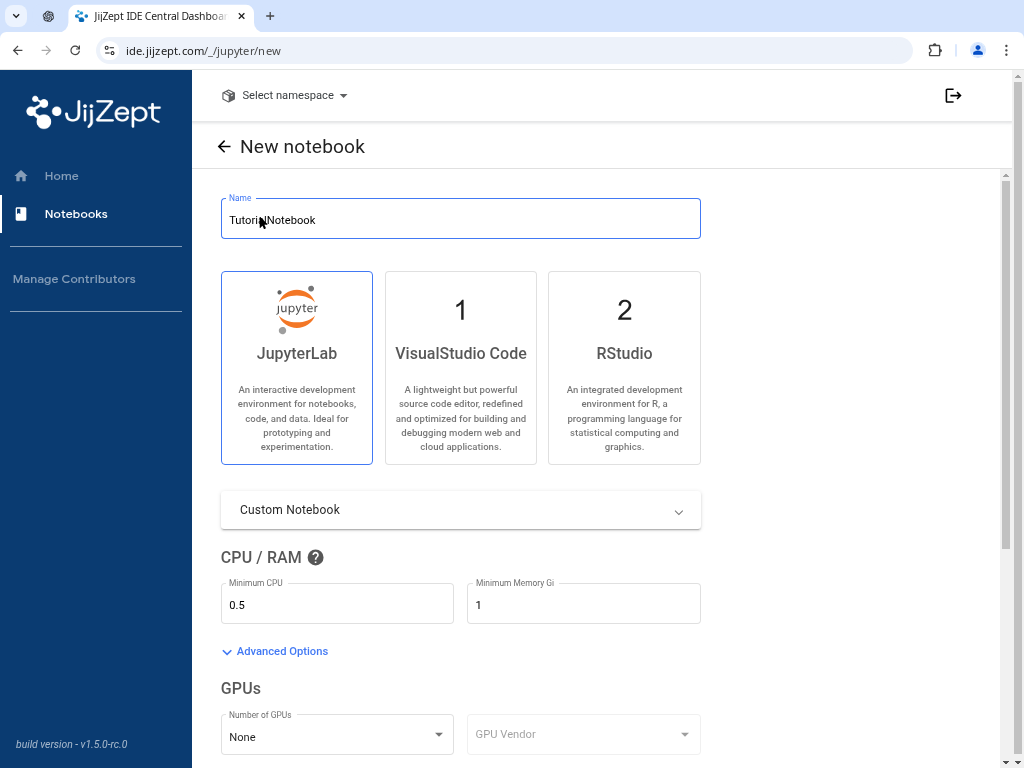
3. Configure the Notebook
Enter a valid notebook name (e.g., "tutorial-notebook") and select JupyterLab as the environment. Make sure all fields are filled in correctly.
Notebook names can only contain lowercase alphanumeric characters and hyphens. Additionally, notebook names must be unique and cannot duplicate existing notebook names.
4. Launch the Notebook
Scroll down and click the "LAUNCH" button to create the notebook.
5. Find Your Notebook
Navigate to the "Notebooks" page and find the notebook you created.
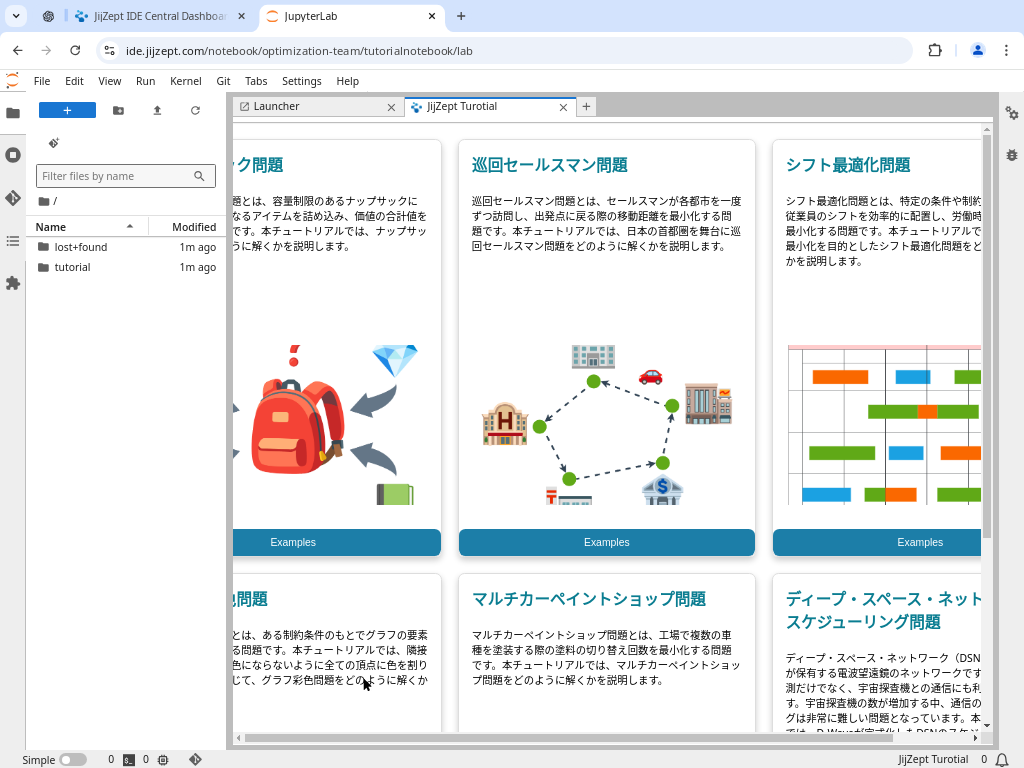
6. Run the Tutorial
Click the "CONNECT" button next to your notebook. This will take you to the JupyterLab environment.
In the JupyterLab interface, you can open the tutorial by selecting "JijZept Tutorial".